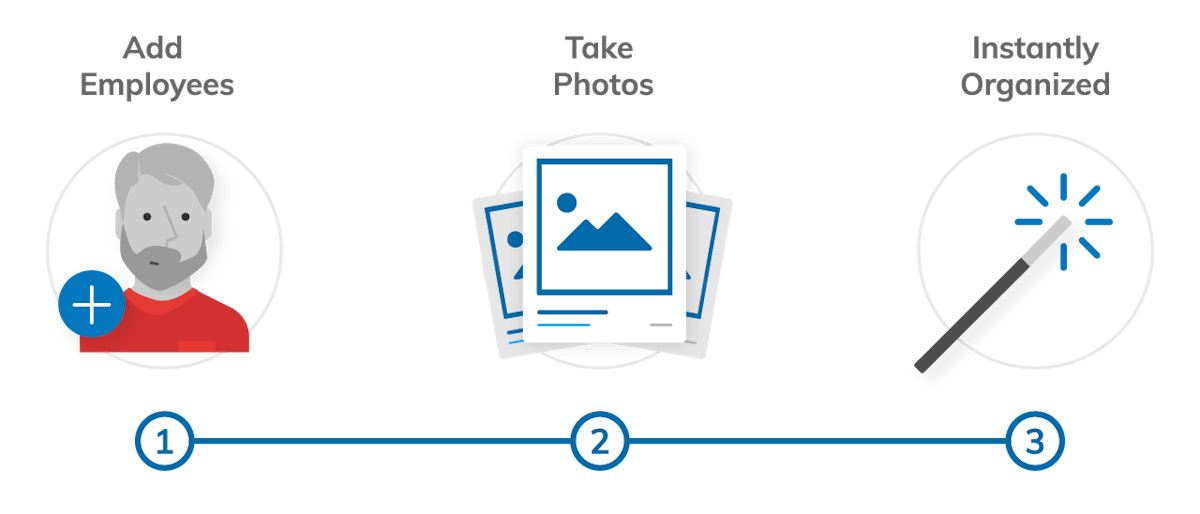
The Before and After Camera is an awesome tool we’ve added to help you market your business in a quick and simple way. It’s super easy to use, just three short steps.

Step 1: Take ‘Before’ Photos
As soon as you take on a new project, what’s the first thing you do? Take pictures of everything.

Step 2: Take ‘After’ Photos
You’ve finished your project, everything looks great, time to take some more pictures. Pull up the Before & After Camera, select the ‘before’ picture that you want to update, and follow the transparent overlay or outline to line up your shot perfectly.

Step 3: Pick Your Layout
Now that you’ve taken your amazing transformation photos, select the layout you like the most and share it like nobody’s business. Facebook, Twitter, Instagram, email, you name it.

When you’re working in the contracting business, showing is more important than telling — potential clients want to see what you’ve done, not what you say you’re going to do. We’ve simplified the marketing process for you so you can focus on doing what you do best.
We’re pretty excited about this new feature, and it seems like you guys are too! Check out some Before & After photos our customers have already taken below.


